The Easiest way to Setup & Use Jupyter Notebook for Python and R
July 14, 2020
Jupyter Notebooks have become very popular in the last few years, and for good reason. They allow you to create and share documents that contain live code, equations, visualizations and markdown text. This can all be run from directly in the browser. It is an essential tool to learn if you are getting started in Data Science, but will also have tons of benefits outside of that field.
Let’s get started.
There are multiple ways to setup Jupyter Notebook, however the most recommended and an easy method is by installing the Anaconda distribution.
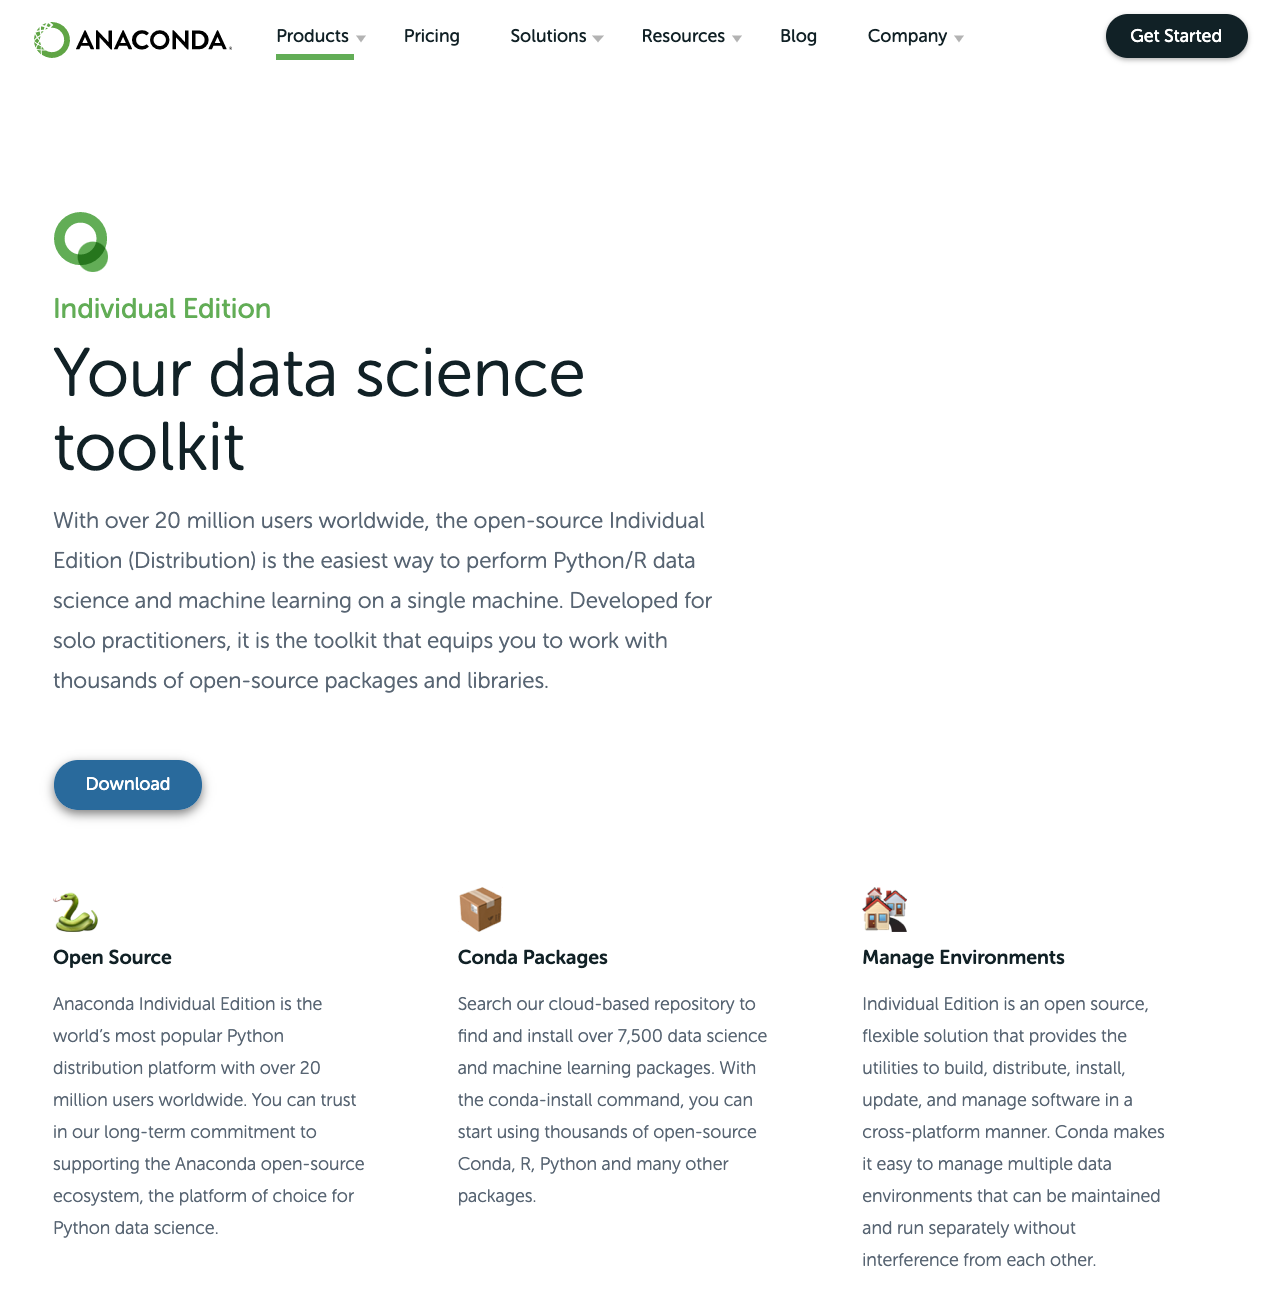
Anaconda is a free and open-source distribution of Python and R languages that aims to simplify package management and deployment.
Step 1
Go to Anaconda’s download page to choose between installers for Windows, macOS, and Linux and download and execute the installer of your choice.
Step 2
Open Anaconda-Navigator from your installed applications and launch Jupyter Notebook. If it is not installed you will see a Install button rather than a Launch button, in which case, simply click the install button and then launch Jupyter Notebook.
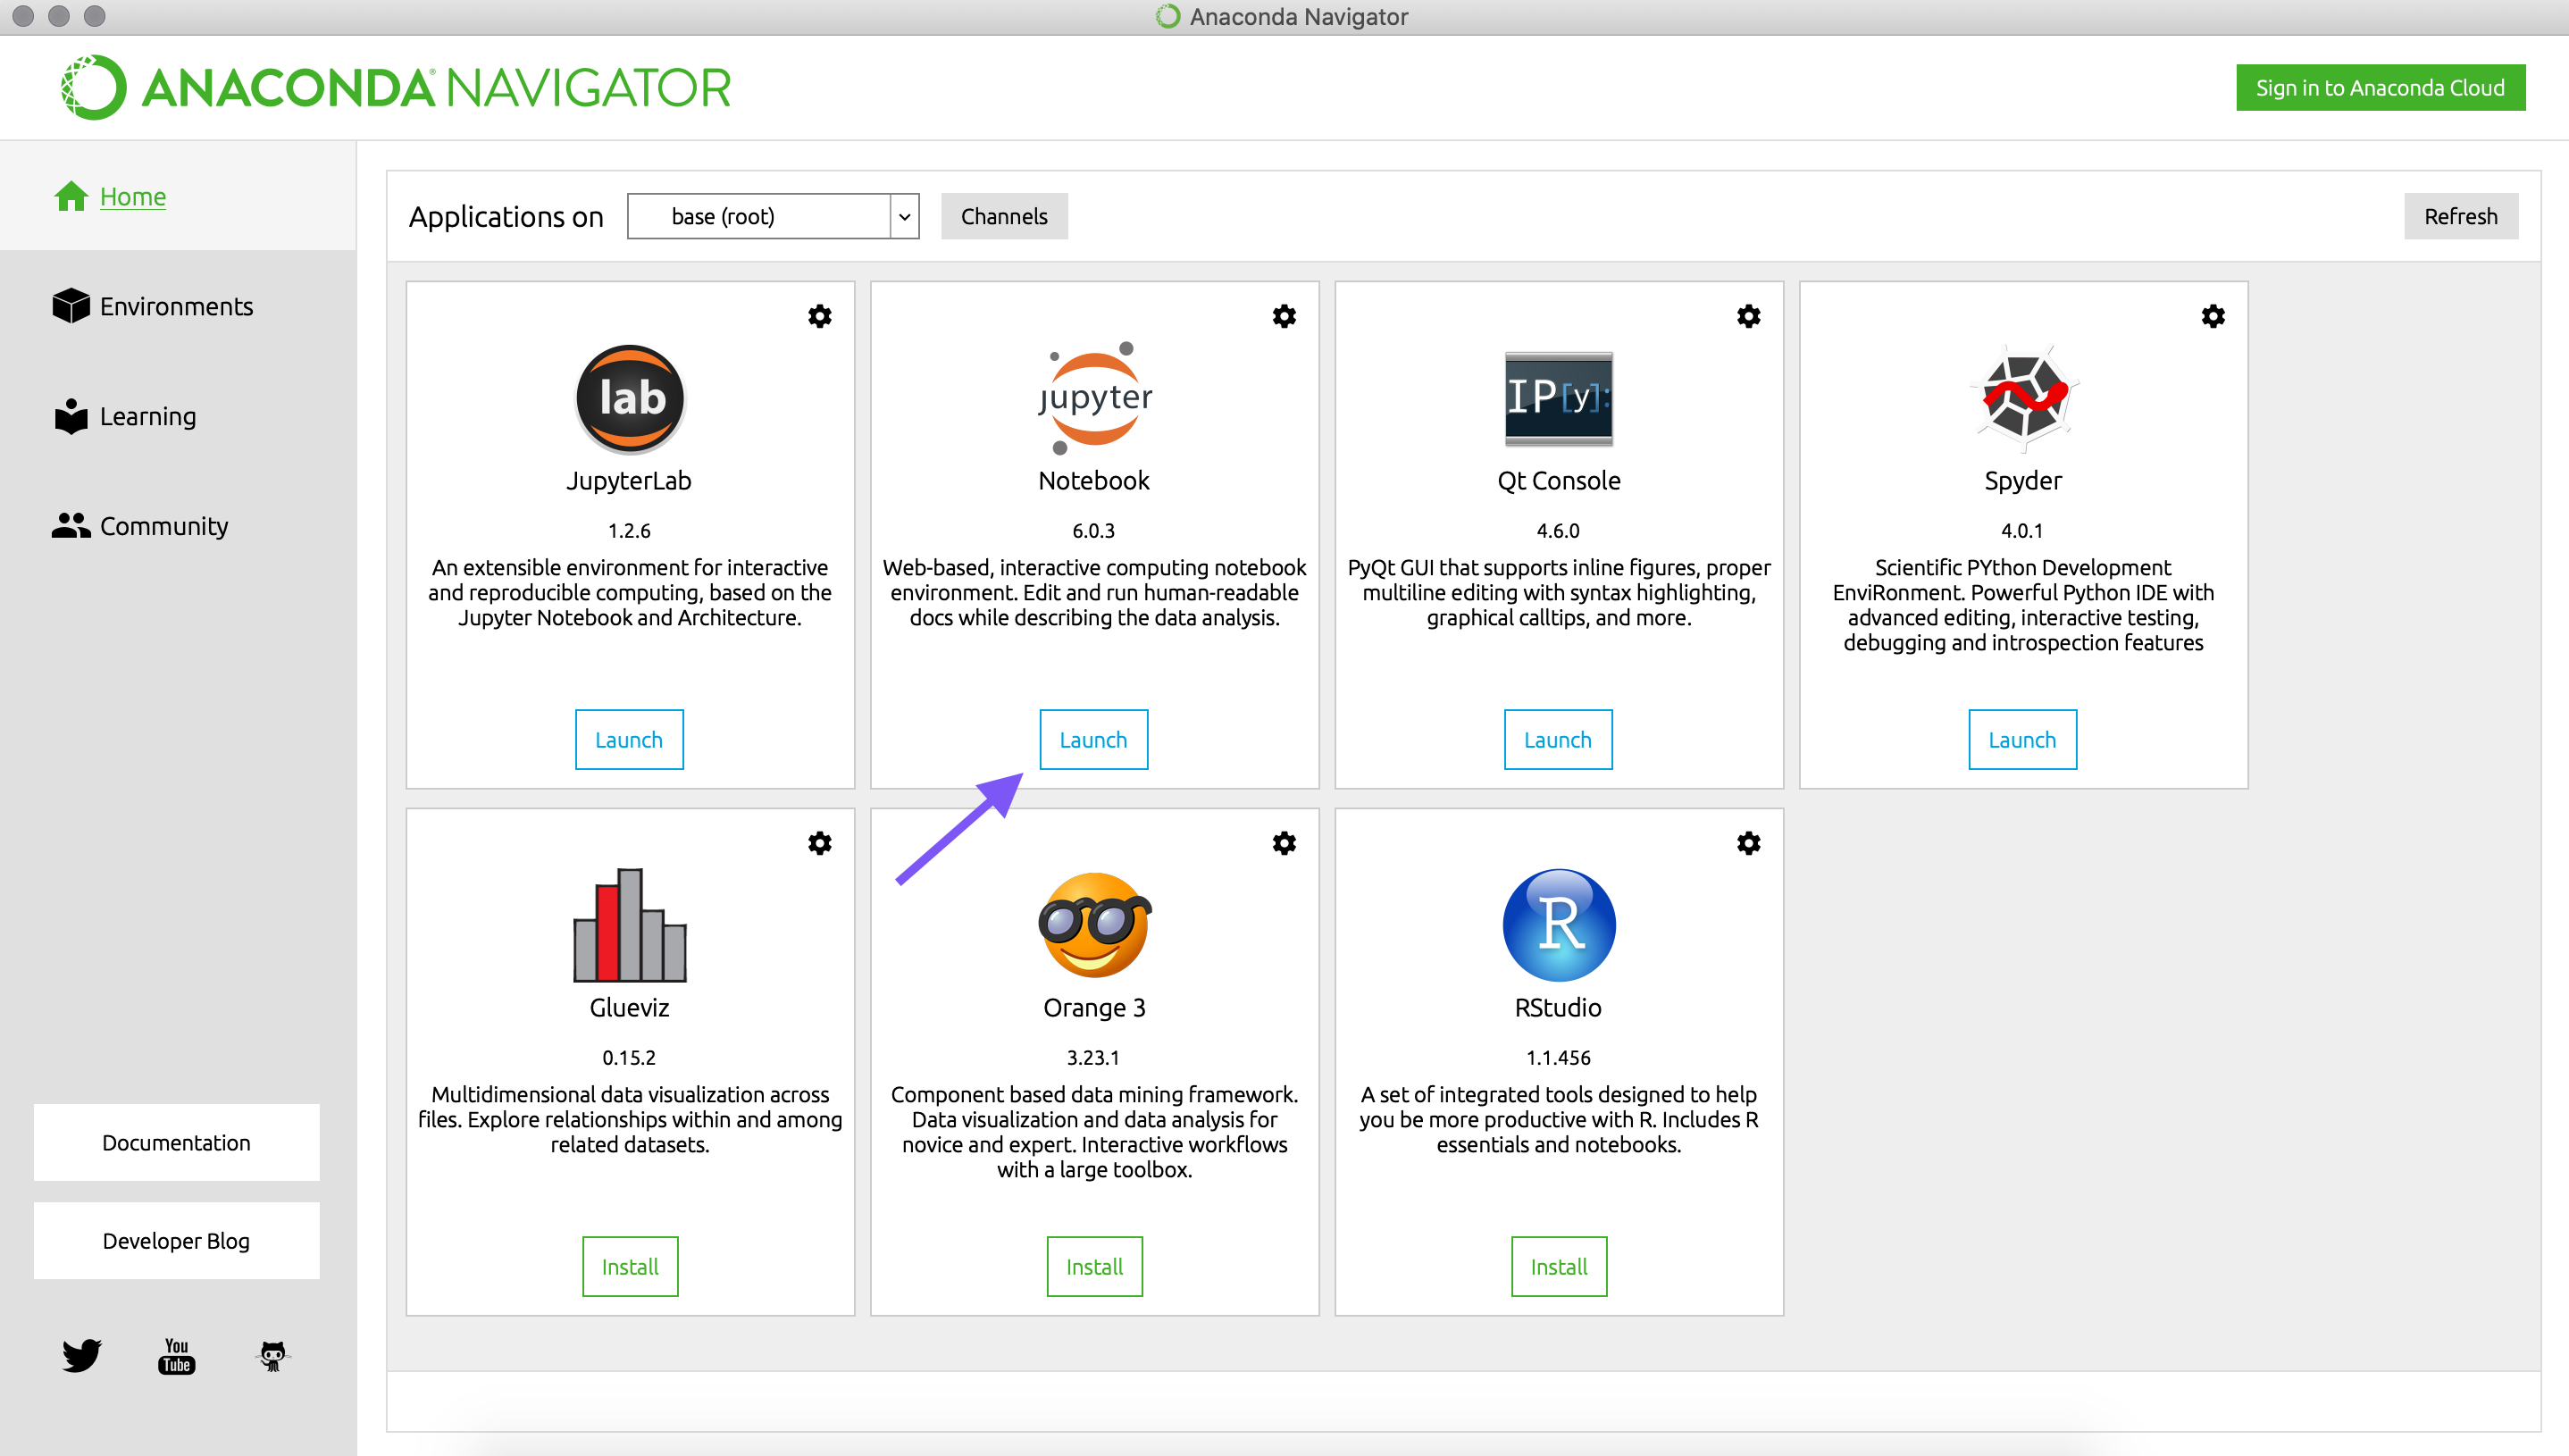
That’s pretty much it actually.
The Jupyter Notebook application will open in your default browser automatically and will look something like the following image.
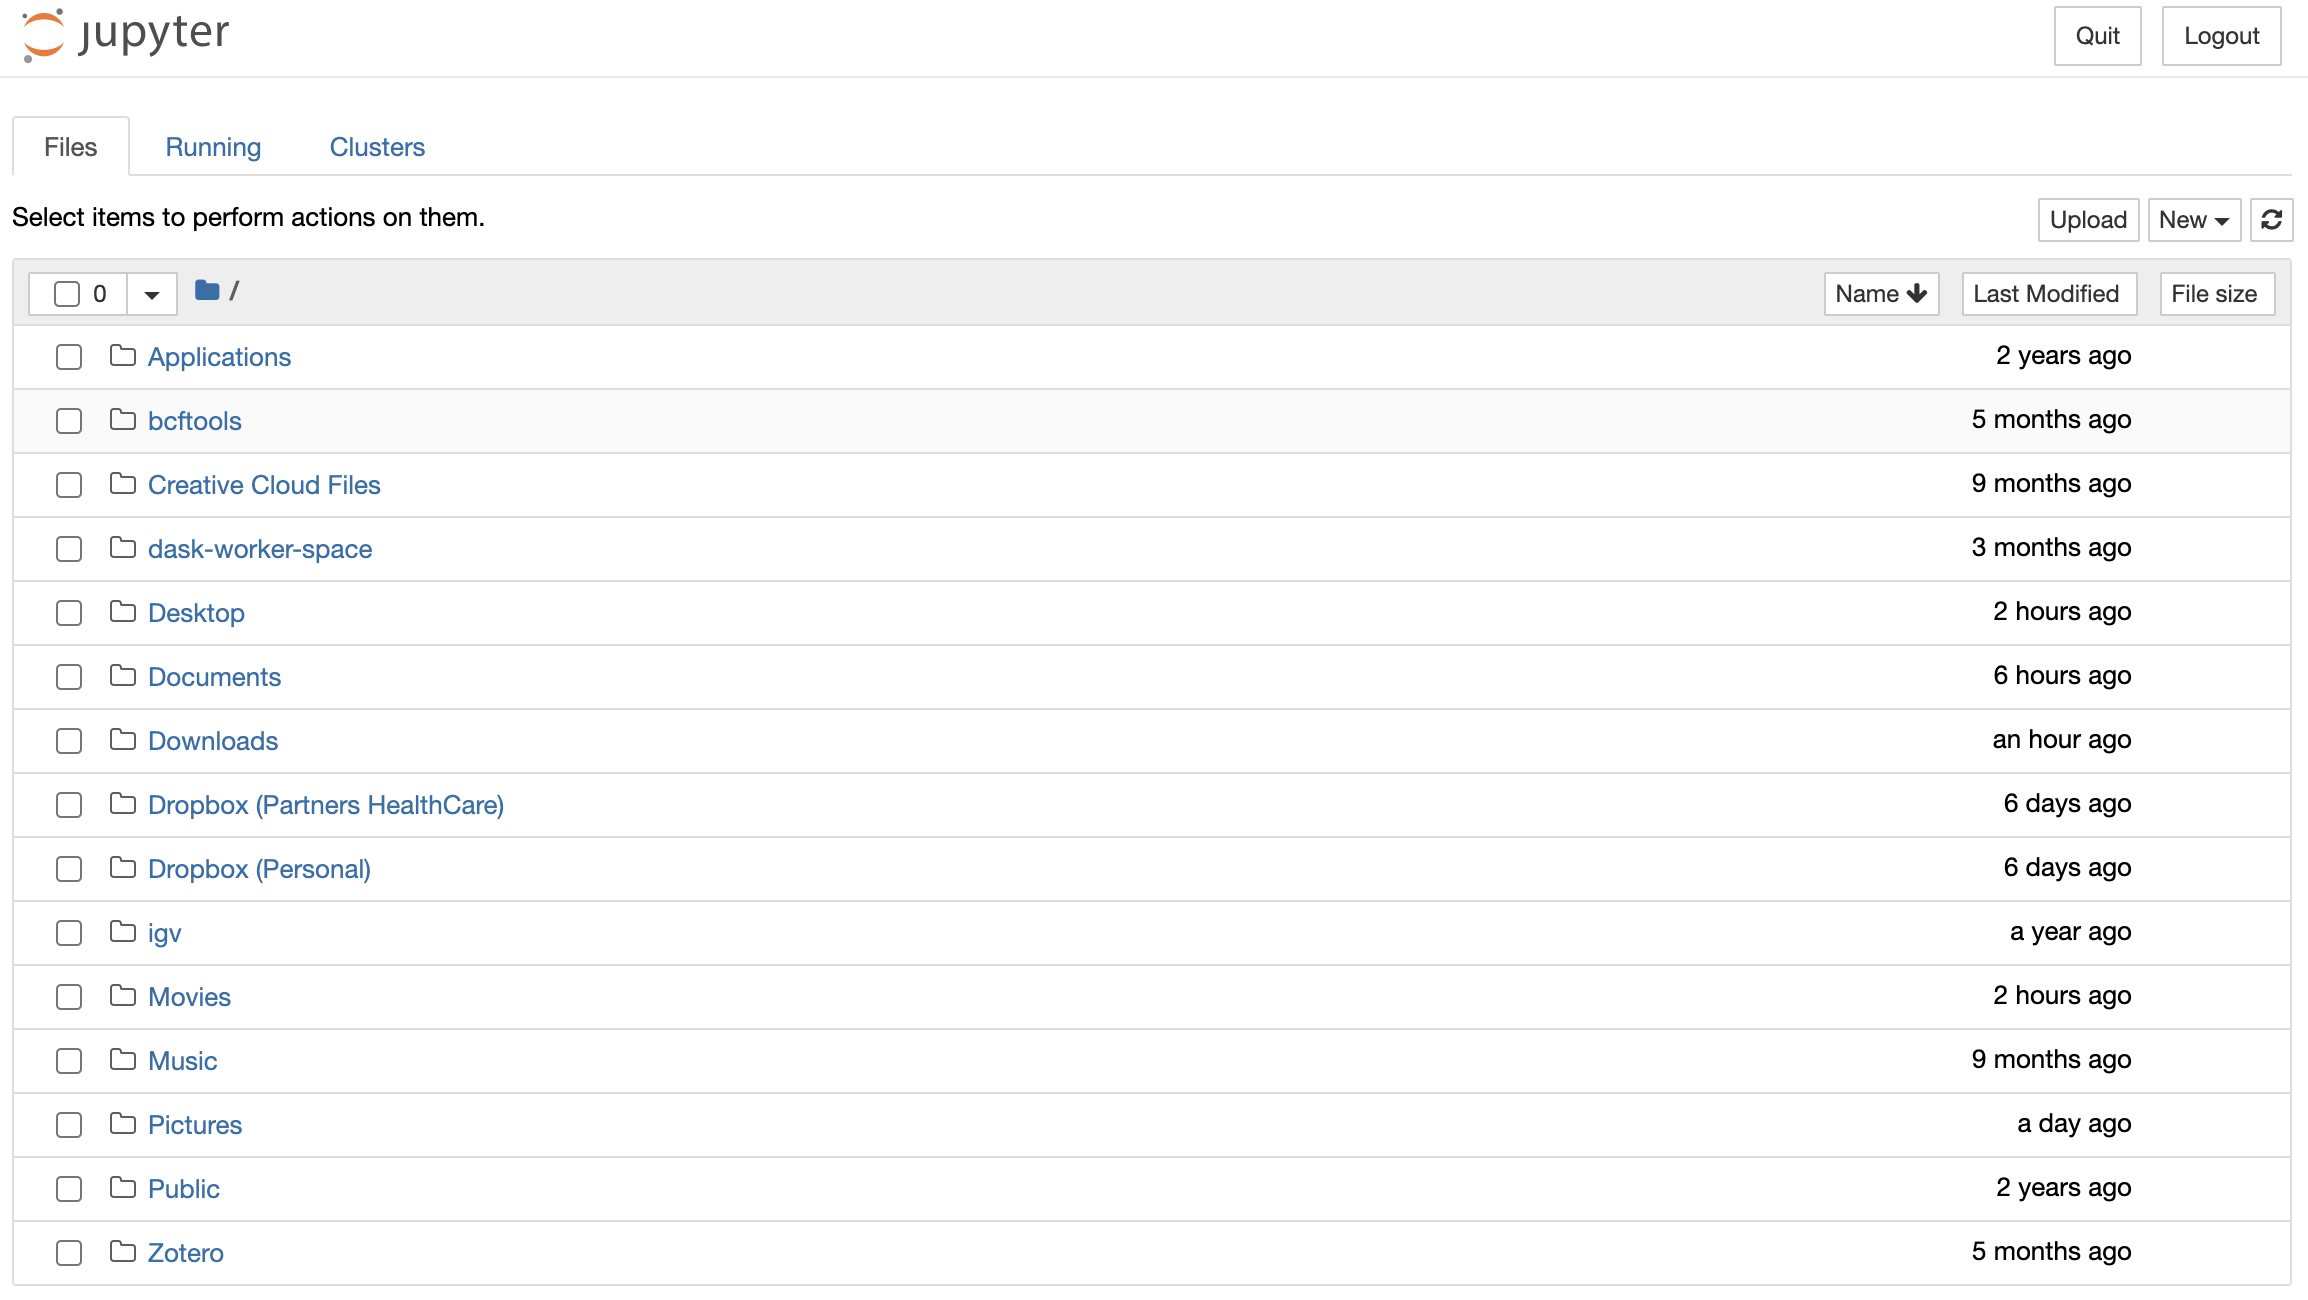
Using Jupyter-Notebook, a walkthrough
From the files tab, navigate to the folder you would like to save your notebook. I generally keep all my notebooks into a single folder, organized by projects.
Then click on the New dropdown menu and select Python 3 or R to open a new Jupyter Notebook with Python or R respectively. The notebook will look something like this:

As you can see the notebook is created and is untitled. By clicking into the text Untitled on the top you can give it a name. By giving it a name the notebook will also be saved as a file of the same name with extension .ipynb. Simply click control + s to save changes as you start adding content to your notebook.
Getting to know your notebook
The notebook itself consists of cells. A first empty cell is already available after having created the new notebook:
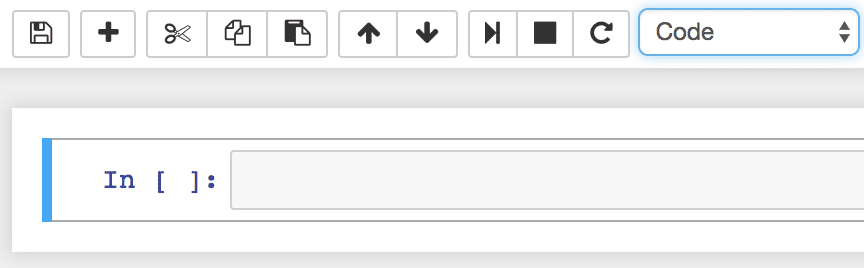
To add a new cell, simply click on the + button on the menu bar. If you prefer keyboard shortcuts click the b key. If you would like to delete a cell, click the ✂ symbol on the menu bar or double press the d key.
You can start typing in Python code directly. Executing code in this cell can be done by either clicking on the run cell button on the menu bar or hitting Shift + Return keys and the resulting output becomes visible right underneath the cell.

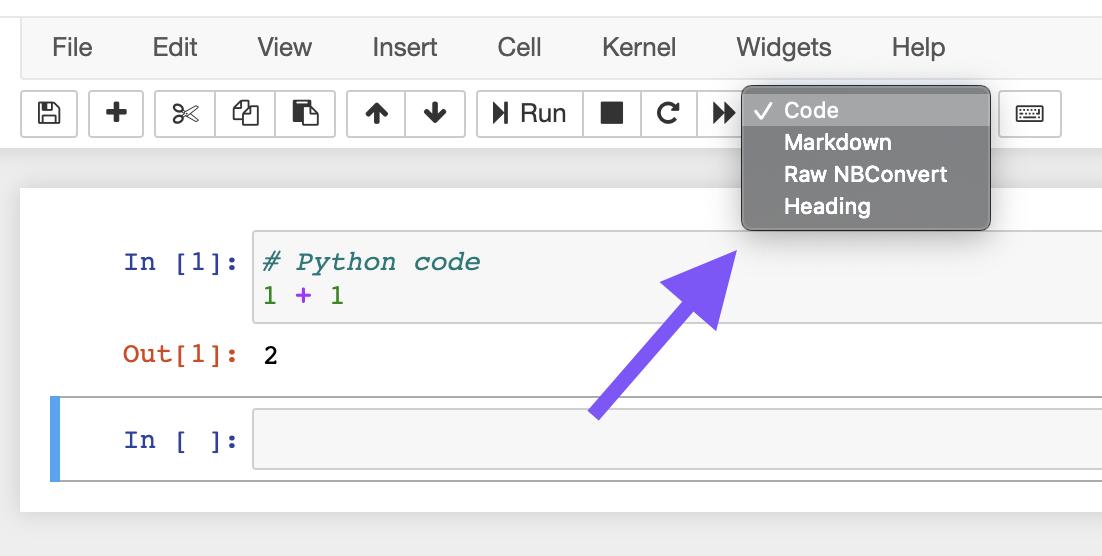
One of the really cool feature about NoteBooks is that you can add text or literally anything that is supported by MarkDown.
So the cell can either be of type Code or Markdown. In order to change the cell attribute type, you can use the dropdown input control.
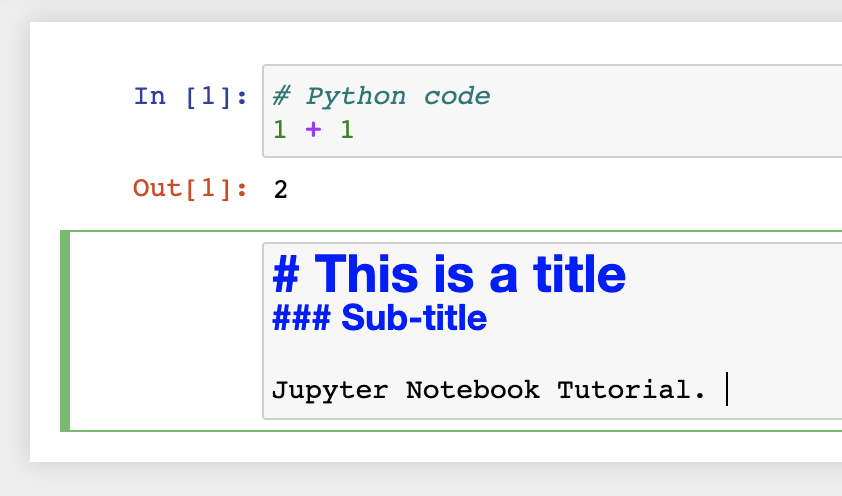
Once switched the type to Markdown you can start typing in markdown to include explanatory text in your notebook. After having entered the markdown code you can compile the cell by hitting Shift + Return once again. The markdown editor cell is then replaced with the output:
As you start becoming familiar with Jupyter Notebook, you will realize that there is a shortcut for everything. To view all the available shortcuts click Help -> keyboard Shortcuts
There is one final thing that you would need to know and it revolves around the ESC button.
The ESC button in Jupyter-Notebook activates the command mode and the other default mode is the edit mode. A quick way of identifying if a cell is in edit or command mode is to look at the color to the left of the cell.
- Green -> Edit Mode
- Blue -> Command Mode
The edit mode, as the name suggests is used for editing the contents of the cell, while in the command mode, you can perform other functions such as adding a new cell, deleting an existing cell, toggling between Markdown/Code and so on. You can find a list of things that you could do in command mode in the shortcuts menu.
Exporting The Notebook
Jupyter Notebook gives you several options to export your notebook. Those options can be found in menu File → Download as.
Btw, if you had generated plots or other visual outputs during your data analysis, they will all be saved and will remain exactly as you left it. That is really cool as you can literally use this as a lab notebook if you are in the research domain like me.
Well, that’s pretty much it
Hope you enjoyed the first article of the Data analysis and Programming Series. As I write continuing articles and make accompanying videos, if you would like me to drop you an email on publication, leave your email below.
Bye for now! Have a nice day 😊